As a seasoned baker, I know the true heart of a delectable pie lies in its crust. The flaky, golden layers that envelop the filling are not just a vessel – they’re an integral part of the culinary experience. But mastering the art of putting two pie crusts together can be an elusive challenge, leaving many home bakers scratching their heads. Fear not, my fellow pie enthusiasts, for today I’m here to share the secrets to seamlessly unifying your top and bottom crusts, resulting in a showstopping double-crust pie that will have your guests raving. So, How do you put two pie crusts together?
Here's What You'll Find
Essential Ingredients for Perfect Double Pie Crust
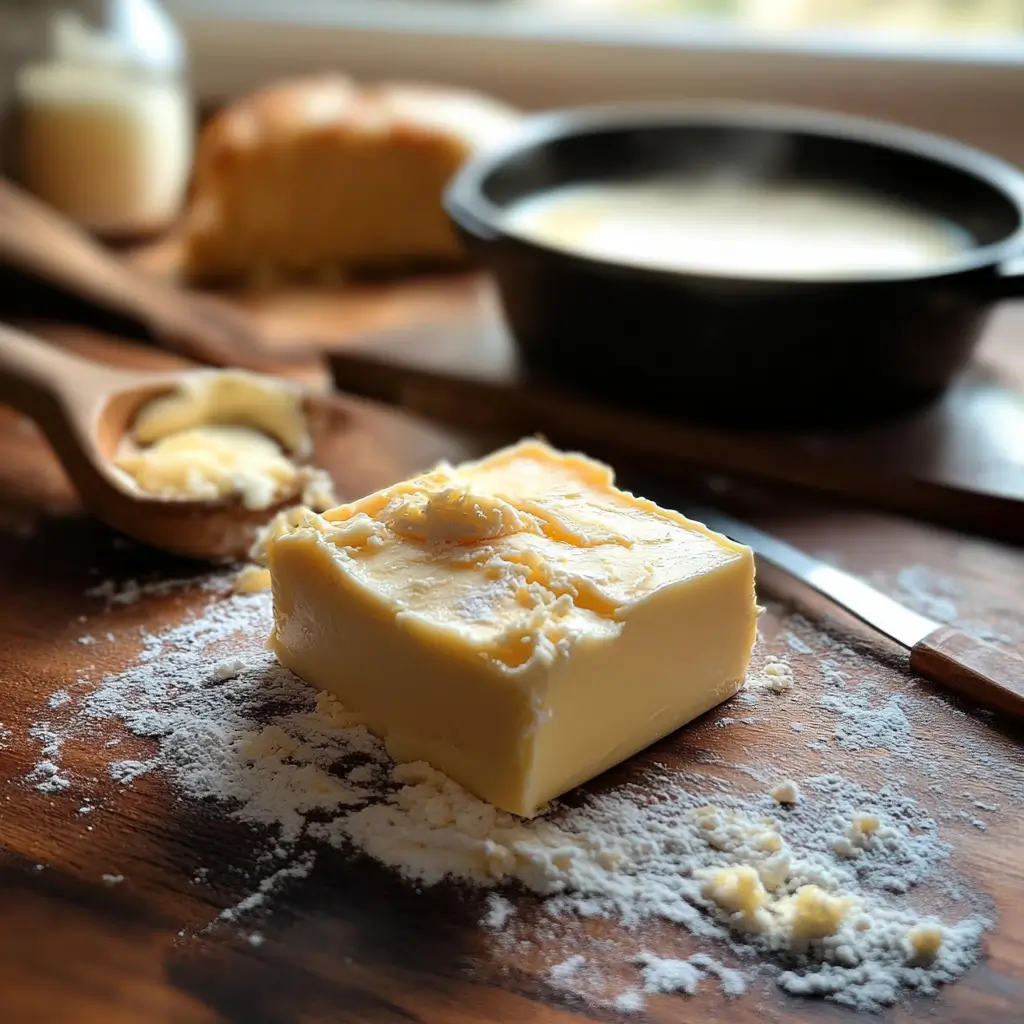
Making a delicious double pie crust starts with picking the right ingredients. You need cold butter for flakiness and the right amount of all-purpose flour. Each part is crucial for a tasty pie crust.
Cold Butter and Its Role in Flakiness
Cold butter is key for a flaky pie crust. When baked, it melts and creates steam pockets. This makes the crust light and layered.
Make sure to mix the butter into the flour just until it looks like coarse crumbs. Don’t overdo it.
Flour Selection and Measurement Tips
For the best pie crust, use all-purpose flour. It has the right mix of strength and softness. When measuring flour, use a spoon to fill the cup and level it off. This avoids too much flour.
Additional Ingredients for Enhanced Flavor
- Salt is essential, even for sweet pies, to boost flavor.
- Sugar balances flavors in sweet pies.
- Ice-cold water keeps the dough tender by preventing tough gluten.
- Vinegar or lemon juice tenderizes the dough and adds flakiness.
To achieve a flaky crust, coat some flour with cold butter before adding the rest. This “butter raincoat” stops gluten from making the dough tough. With the right ingredients and methods, you’ll make a perfect double pie crust.

For a foolproof guide to double-crust pies, check out What Does Double-Crusted Pie Mean to learn about its significance in baking.
Preparing Your Workspace and Tools
Creating a perfect double-crust pie starts with the right tools and a tidy workspace. A food processor is great for mixing the dough quickly and evenly. It blends cold butter and flour with precision, making the crust tender and flaky.
If you don’t have a food processor, a pastry cutter works well for mixing by hand. It’s important to keep everything cold. Have a floured surface ready for rolling out the dough and parchment paper for easy handling.
Make sure you have all the tools you need, like a rolling pin and plastic wrap for chilling. A sharp knife or bench scraper is also handy for trimming the edges. This way, you can focus on making a beautiful pie without any hitches.
“The key to a perfect pie crust is keeping all your ingredients and tools cold, cold, cold!”
Getting a double-crust pie just right is all about preparation. Set up your workspace and gather the right pie crust tools. This ensures you can make a crust that’s flaky and golden.
How do you put two pie crusts together?
Assembling a double-crust pie is a delicate process. It requires careful attention to detail. To ensure a flawless pie, mastering the techniques for pie crust placement and sealing the edges is essential. Let’s explore the step-by-step methods for bringing your two pie crusts together with precision.
Bottom Crust Placement Techniques
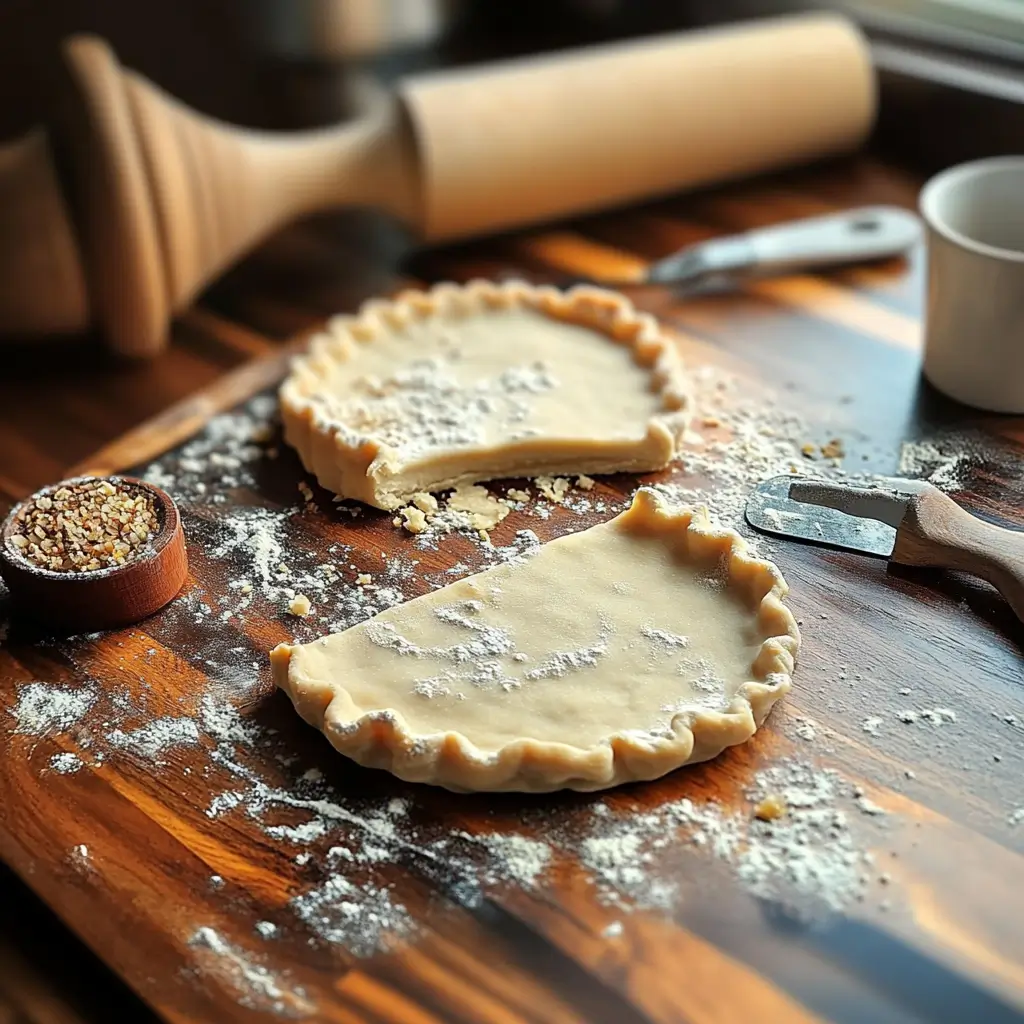
Start by rolling out the bottom crust dough to a 12-inch diameter. This should be slightly larger than your 9-inch pie pan. Gently transfer the crust to the pan, allowing the excess to hang over the edges.
Ensure the crust is evenly distributed and pressed into the corners of the pan. This creates a smooth and even surface.
Top Crust Application Methods
For the top crust, roll out the dough to a similar size as the bottom crust. Carefully place the top crust over the filled bottom crust, aligning the edges. Trim any excess dough, leaving a 1-inch overhang around the pie.
Sealing the Edges Properly
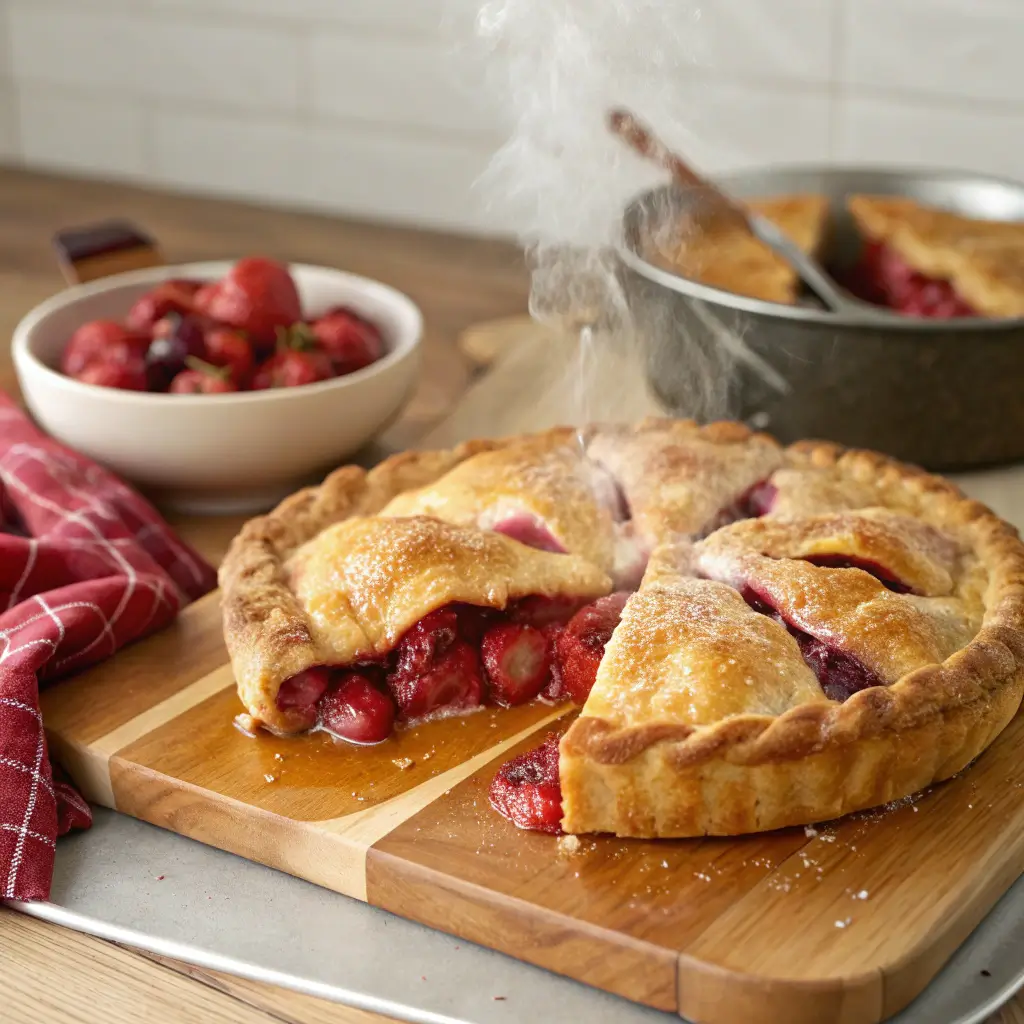
To seal the double crust pie assembly, fold the overhanging dough from the top and bottom crusts under. This creates a tightly crimped edge. Use your fingers or a fork to press and crimp the edges, ensuring a secure seal.
This step is crucial for preventing the filling from leaking during baking.
Remember, maintaining the right temperature and handling the dough gently is key. This will help you achieve a flaky, well-sealed double-crust pie. With these techniques, you’ll be able to create a visually appealing and structurally sound pie crust placement that will impress your guests and satisfy your taste buds.

Mastering the Art of Crimping Edges
Crimping the edges of your double-crust pie is more than just a decorative touch. It’s key to keeping your pie together while it bakes. A strong seal between the crusts stops your filling from spilling out.
There are a few ways to crimp your pie crust edges. You can pinch and fold the dough with your fingers. Or, use a fork to press the dough all around the pie. For fancy designs, try braids or scallops.
Choosing a crimping technique is important. You want the edge to be sealed well and look good. With practice, you’ll get great at pie crust crimping techniques and decorative pie edges.
Getting the fork crimping pie crusts right takes time. Don’t worry if it’s not perfect at first. Keep trying, and you’ll soon make pies with beautiful edges that everyone will love.
Not sure how to achieve an expert crimp? This Ultimate Guide to the Double-Crusted Sweet Potato Pie dives deeper into the art of decorative finishes.
Creating Decorative Pie Crust Designs
Make your homemade pies stand out with beautiful pie crust designs. Try the classic lattice top or get creative with edge finishes. There’s a lot to explore and show off your baking skills.
Traditional Lattice Pattern Instructions
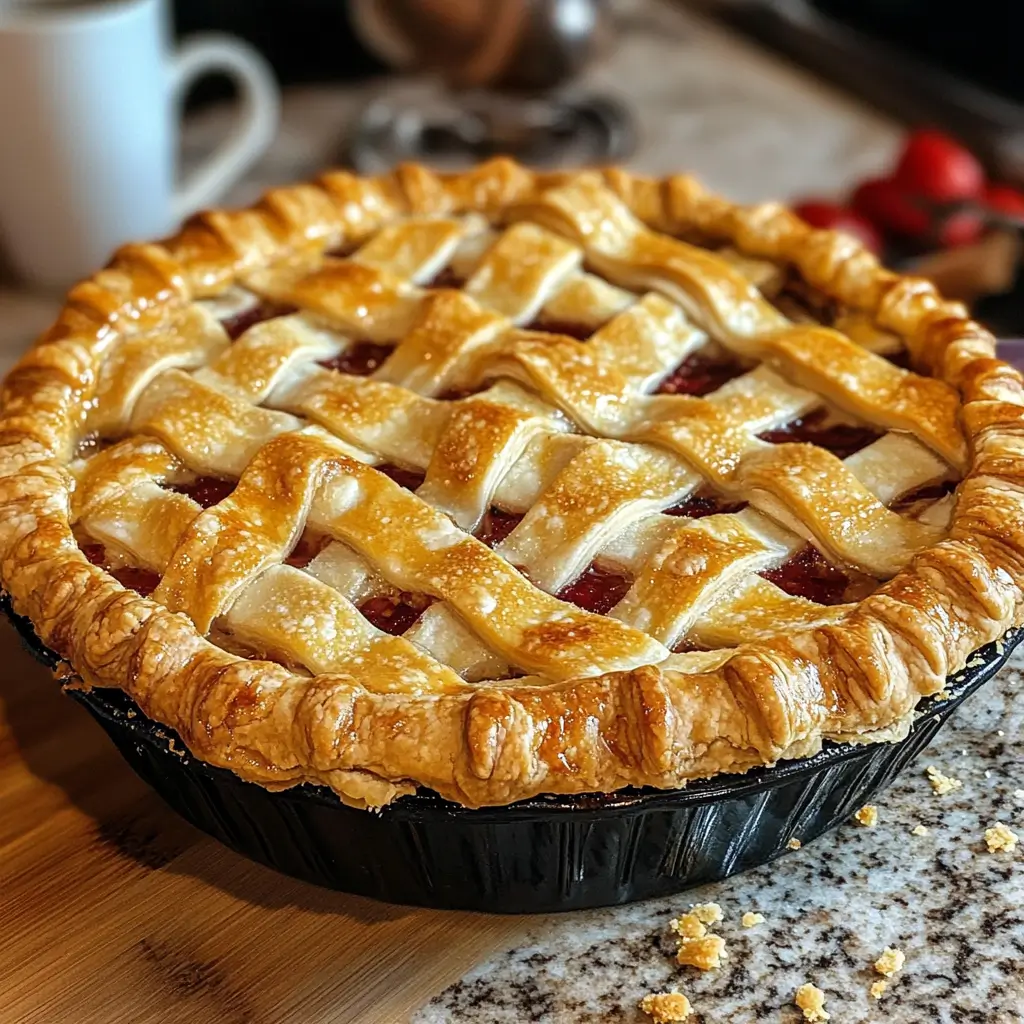
The lattice pie crust is loved for its basket weave look and letting steam out while baking. To make it, cut the top crust into long strips. Then, weave them over the filling in an over-under pattern.
Creative Edge Finishing Techniques
Give your pie crust edges a special touch. Use cookie cutters to cut out shapes from extra dough. Place them around the rim for a fun look. Try fluted, roped, or braided edges for more texture and interest.
Seasonal Decorative Elements
Add seasonal touches to your pie crust designs. Use leaf shapes for fall pies or flower patterns for spring desserts. Brush your designs with egg wash for a golden finish.
| Decorative Pie Crust Technique | Description |
|---|---|
| Lattice Top | Weave strips of dough in an alternating over-under pattern for a classic, visually appealing design. |
| Fluted Edge | Use your fingers to crimp and fold the dough around the edge of the pie dish, creating a scalloped pattern. |
| Roped Edge | Twist strips of dough together and press them onto the rim of the pie dish for a decorative rope-like finish. |
| Braided Edge | Braid three strips of dough and place them around the edge of the pie for a beautiful, intricate design. |
| Shaped Trim | Use small cookie cutters to cut shapes from the excess dough and arrange them around the rim of the pie. |
Remember, the key to successful pie crust decorating is to have fun and experiment with different techniques. Whether you choose a classic lattice or a seasonal design, your homemade pies will surely impress.
Pre-baking Tips for Double Crust Pies
For double crust pies, pre-baking the bottom crust isn’t always needed. But for pies with very wet or liquid-heavy fillings, like custard pies, chocolate cream pies, banana cream pies, and fresh fruit pies with glazes, pre-baking can prevent a soggy pie.
To pre-bake, line the bottom crust with parchment paper and fill it with pie weights or dried beans. This keeps the crust in shape and bakes it through before adding the filling. Bake at 375°F for about 15 minutes, then remove the weights and bake for 5-7 more minutes until it’s lightly golden.
On the other hand, apple pies and other baked fruit pies usually don’t need pre-baking. The filling will add enough moisture and structure to the crust during baking. Freezing the dough before assembling can also help keep the crust in place.
For pies with solid fillings that don’t need baking, like fresh fruit pies and pudding pies, a pre-baked crust is essential. This ensures the crust is fully cooked and can support the chilled filling.
| Pie Type | Pre-Baking Requirement |
|---|---|
| Custard Pies (Pumpkin, Chocolate Cream, Banana Cream) | Partial pre-baking recommended |
| Fresh Fruit Pies with Glaze | Partial pre-baking recommended |
| Apple Pie and Baked Fruit Pies | Pre-baking not necessary |
| Fresh Fruit Pies and Pudding Pies | Pre-baked crust required |

Preventing Soggy Bottom Crusts
Getting a crisp and flaky bottom crust can be tough for many bakers. But, with the right methods, you can avoid soggy bottoms and enjoy a great pie. We’ll look at ways to keep your pie crust crisp and golden, from venting to temperature control.
Proper Venting Techniques
Good venting is key to letting steam out and avoiding soggy bottoms. Try cutting slits in the top crust or use a lattice design. These steps help the bottom crust bake evenly and stay crisp.
Temperature Control Methods
Start your pie at 425°F for 15-20 minutes to set the crust fast. Then, lower the oven to 375°F for the rest of the time. This change helps the crust firm up before the filling can make it soggy.
Moisture Management Strategies
- For fruit pies, mix the fruit with sugar and let it sit to release juices. Drain the excess before filling to avoid soggy bottoms.
- For custard pies, like sweet potato, brush the bottom crust with egg white. This helps protect against moisture.
- Use a metal pie pan instead of glass or ceramic. Metal pans heat better, leading to a crisper crust.
By using these venting, temperature, and moisture tips, you’ll bake pies with crisp and tasty bottoms. Enjoy the joy of serving perfect pies, from start to finish.
If you’re venturing into sweet potato pies, Sweet Potato Pie Near Me: Your Guide to Finding the Perfect Slice offers insights into achieving that perfect balance of flavor and texture.
Essential Egg Wash Applications
Getting a golden, shiny finish on your pie crusts is easy with an egg wash. Mix a beaten egg with a tablespoon of water or milk. Then, brush this mixture over the top crust and edges before baking.
For a deeper, richer shine, use just the egg yolk mixed with water. If you want a lighter golden color, use the whole egg or just the egg white. But brush it lightly to avoid pooling and ensure even browning.
| Egg Wash Type | Result |
|---|---|
| Whole Egg + Water | Golden, shiny finish |
| Egg Yolk + Water | Deeper, richer shine |
| Egg White Only | Lighter golden color |
Learning to use an egg wash for pie crust glazing techniques can make your pies look amazing. Whether you want a bold, golden hue or a delicate sheen, the right egg wash can make a big difference.
“The egg wash really took my pie crust to the next level. It’s now my go-to technique for achieving that perfect golden shine.”
Common Double Crust Problems and Solutions
Baking a perfect double-crust pie is a delicate task. But with the right techniques, you can solve even the toughest pie crust issues. Here’s how to fix common problems like tough crusts and uneven browning, so your pies will be flawless.
Tough Crust
A tough, leathery pie crust usually comes from overworking the dough. To avoid this, mix and roll out the dough gently. This prevents too much gluten from developing. The fix? Don’t overhandle the dough and let it rest before baking for a tender, flaky crust.
Shrinking Crust
Shrinking pie crust can be a big problem. To stop this, chill the dough in the fridge for at least an hour before rolling and fitting it into the pie plate. This relaxes the gluten, preventing too much shrinkage.
Uneven Browning
Uneven browning can be fixed by rotating the pie during baking. This ensures even heat and a consistently browned crust. Brushing the top crust with an egg wash can also help even out the browning.
Cracks and Breaks
Cracks or breaks in the crust can be fixed with extra dough. Press the dough into the cracks to seal them, then bake as usual. This simple fix can save your pie crust from looking bad.
Overbrowned Edges
To stop edges from browning too quickly, cover them with foil. This protects them from intense heat. It lets the center crust bake evenly without burning the edges.
Soggy Bottom Crust
To avoid a soggy bottom crust, bake the pie on a preheated baking sheet or lower rack. This ensures the bottom crust cooks well. Adding a thickener like cornstarch or tapioca to the filling can also help absorb moisture.
By tackling these common double crust problems, you’ll be on your way to baking pies with perfectly flaky, golden-brown crusts every time. Happy baking!
FAQs
What does double crusted pie mean?
A double-crusted pie features two layers of pastry—one on the bottom and one on top—typically enclosing a filling like fruit or savory ingredients. Explore more about this topic here.
How do you keep sweet potato pie crust from getting soggy?
To prevent a soggy crust, pre-bake (blind bake) the crust before adding the filling, and consider brushing it with an egg wash or a layer of melted butter. Learn more about this here.
What is a bottom crusted baked before adding filling called pie?
A pie with a pre-baked bottom crust is called a “blind-baked” pie.
Should I bake the bottom pie crust first?
Yes, for pies with wet fillings, like custard or fruit, baking the bottom crust first (blind baking) helps prevent it from becoming soggy. Uncover more insights here.
How to make crispy bottom of the pie?
To achieve a crispy pie bottom, blind bake the crust, use a pizza stone, or sprinkle the crust with breadcrumbs or a layer of melted chocolate before adding the filling. Read more on this here.
Conclusion
Learning to make mastering double crust pies needs focus and practice. It’s important to use cold ingredients and not overwork the dough. Also, make sure to seal and vent the crust right. Adjust your baking methods for different fillings.
These pie crust best practices help you make pies that look great and taste amazing. Each pie is a chance to get better and try new things. From picking the right flour and fat to perfecting the crust, every step matters.
Understanding pie crust science and fillings can take your baking to the next level. You’ll impress everyone with your skills. So, whether you’re new or experienced, enjoy the journey. With hard work and a desire to learn, you’ll master mastering double crust pies and make pie crust best practices that delight everyone.
